Creating realistic animal figurines with air-dry clay can be a fun and rewarding experience. With the right tools and techniques, you can create unique and beautiful pieces of jewelry that showcase your love of animals. In this guide, we will explore the steps you need to take to create realistic animal figurines with air-dry clay.
Whether you are an experienced artist, this guide will provide you with valuable tips and tricks to help you create stunning animal figurines that are sure to impress your friends and family.
Choosing the Right Clay
The first step to creating realistic animal figurines is to choose the right type of air-dry clay. There are many types of air-dry clay available, each with its unique properties and benefits. Some popular types of air-dry clay include paper clay, polymer clay, and self-hardening clay.
When choosing your clay, consider the type of animal you want to create and the level of detail you want to achieve. Some clays are better suited for creating smooth, simple shapes, while others are more suitable for creating intricate details and textures. Once you have chosen your clay, be sure to read the manufacturer’s instructions carefully and follow them closely to ensure optimal results.
Gathering the Right Tools
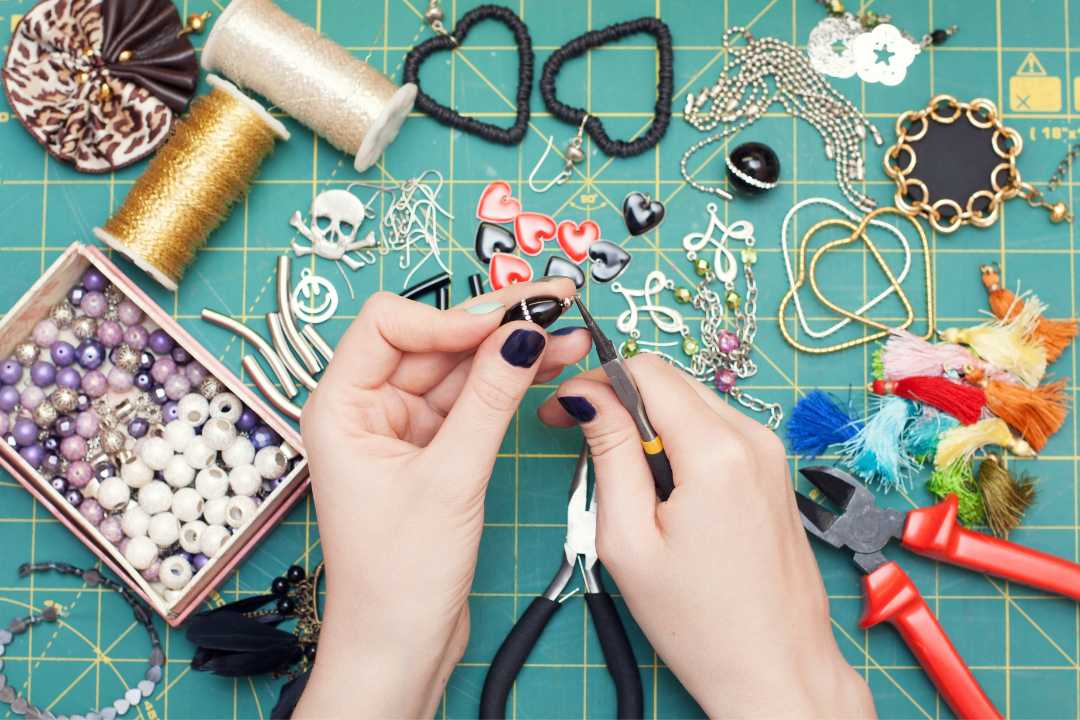
To create realistic animal tiny figurines, you will need a few basic tools, including sculpting tools, a rolling pin, and a work surface. You may also want to invest in some specialized tools, such as silicone molds and texture stamps, to help you achieve more complex designs. When choosing your tools, look for high-quality options that are designed specifically for working with air-dry clay. These tools will provide you with greater precision and control, allowing you to create more detailed and realistic animal figurines. Remember, they can make all the difference in the quality of your finished product.
Planning Your Design
Before you begin working with your clay, take some time to plan out your design. This will help you to visualize your finished product and ensure that you have all the necessary materials and tools on hand.
You may want to sketch out your design on paper or use a 3D modeling program to create a digital mock-up. This will allow you to experiment with different shapes and sizes and make adjustments before you begin working with your clay. Planning your design will also help you to identify any potential challenges or areas where you may need to use specialized techniques to achieve the desired result.
Preparing Your Clay
Once you have your design and tools in place, it’s time to prepare your clay. Depending on the type of clay you are using, you may need to knead it or warm it up before you begin working with it.
Be sure to follow the manufacturer’s instructions carefully, as different types of clay may require different preparation methods. When working with your clay, be sure to keep it moist and pliable. If it begins to dry out, you may need to mist it with water or cover it with a damp cloth to keep it from cracking or crumbling.
Building the Base
Before you can begin sculpting your animal figurine, you will need to create a base to work from. This base will provide the structure and support you need to build your design.
You can create your base by rolling out a flat sheet of clay and cutting it to the desired size and shape. Alternatively, you can use a pre-made base, such as a wooden dowel or a foam ball. Be sure to attach your animal figurine securely to the base to prevent it from falling over or becoming misshapen during the drying process.
Sculpting Your Animal Figurine
Now it’s time to begin sculpting your animal figurine! Using your sculpting tools, carefully shape your clay into the desired form, adding details and textures as you go.
Remember to work slowly and carefully, taking breaks as needed to prevent your clay from drying out or becoming too difficult to manipulate. When sculpting your animal figurine, pay close attention to the proportions and details. This will help to create a more realistic and lifelike representation of your chosen animal.
Adding Details and Texture
To create a more realistic animal figurine, you will need to add details and texture to your design. This can be done using, such as texture stamps and silicone molds, or by hand using a variety of sculpting tools.
Be sure to pay close attention to the details, such as the fur, scales, or feathers, as these will help to bring your animal figurine to life. You may also want to experiment with different techniques, such as dry brushing or sanding, to create a more realistic texture and finish.
Drying and Finishing Your Figurine
Once you have completed your animal figurine, it’s time to let it dry. Depending on the type of clay you are using, this may take several hours or several days. Be sure to follow the manufacturer’s instructions carefully to ensure that your figurine dries evenly and doesn’t crack or warp during the drying process. Once your figurine is completely dry, you can apply a finish or sealant to protect it and give it a shiny, polished look.
Conclusion
Creating realistic animal figurines with air-dry clay can be a fun and rewarding experience. With the right tools and techniques, you can create unique and beautiful pieces of jewelry that showcase your love of animals. By following the steps outlined in this guide, you can create stunning animal figurines that are sure to impress your friends and family. So, grab your clay and sculpting tools, and let your creativity run wild!


