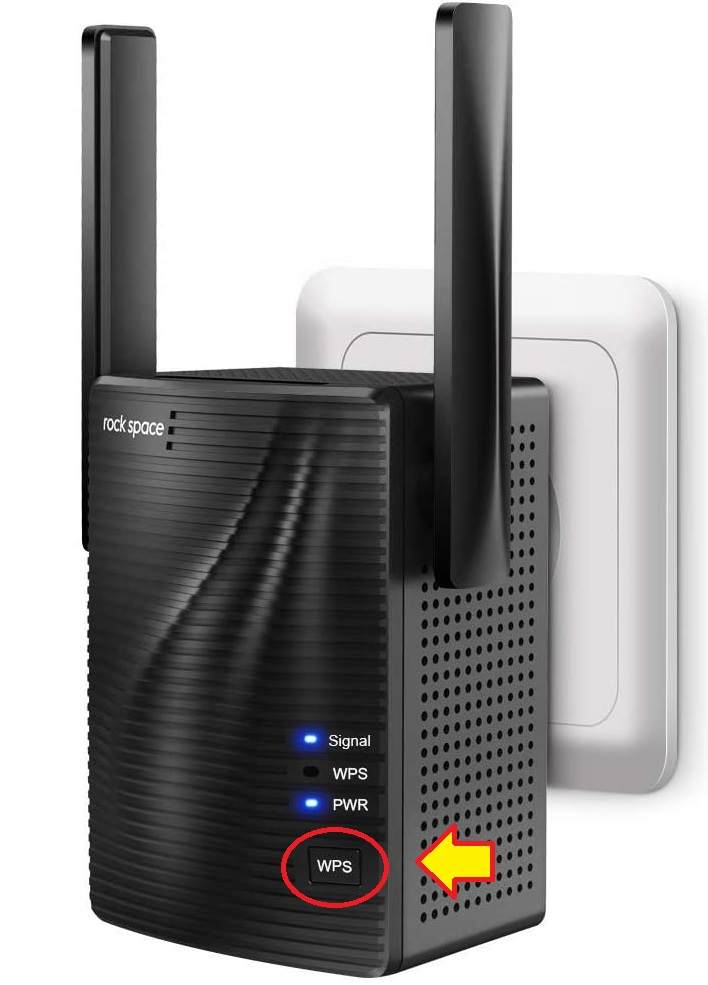
There are several reasons why you might need to boost your Wi-Fi range:
- Eliminate dead zones: Wi-Fi signals can be weakened by physical barriers like walls, floors, and furniture. Boosting the Wi-Fi range helps eliminate dead zones in your home or office where the signal is weak or nonexistent.
- Improved coverage: By extending the Wi-Fi range, you can ensure that all areas of your home or office have a strong and reliable Wi-Fi signal. This allows you to use your devices, such as smartphones, laptops, or smart home devices, from anywhere within the extended range.
- Connect devices in distant areas: If you have devices located far away from your router, such as in a separate building or in the backyard, boosting the Wi-Fi range allows you to connect those devices without experiencing signal dropouts or poor performance.
- Better streaming and gaming experience: A boosted Wi-Fi range provides a stronger and more stable signal, which is crucial for smooth streaming of videos, online gaming, and other bandwidth-intensive activities. It helps reduce buffering, lag, and interruptions.
- Multiple users and devices: If you have a large number of users or multiple devices connected to your Wi-Fi network simultaneously, extending the range ensures that everyone receives a strong signal, preventing congestion and slow speeds.
- Flexibility and mobility: With an extended Wi-Fi range, you can enjoy the flexibility of moving around your home or office without losing connectivity. You can work or browse the internet from different areas without being tied to a specific location.
- Smart home connectivity: Many smart home devices, such as smart thermostats, security cameras, or voice assistants, rely on a stable Wi-Fi connection. Extending the Wi-Fi range ensures that these devices can communicate effectively and function properly.
Overall, boosting the Wi-Fi range enhances the overall user experience by providing a reliable and robust wireless connection, enabling seamless connectivity and access to the internet across various devices and locations.
To login to your Rockspace Wi-Fi extender, follow these steps:
- Connect your device (such as a computer or smartphone) to the Wi-Fi network of the Rockspace extender. You can do this by going to your device’s Wi-Fi settings and selecting the network name (SSID) of the extender.
- Once connected to the extender’s network, open a web browser on your device. It can be any browser, such as Chrome, Firefox, or Safari.
- In the address bar of the browser, type in the default IP address of the re Rockspace local not working extender. The default IP address is usually “192.168.0.254” or “192.168.1.254”. Press Enter to access the login page.
- The login page will prompt you to enter a username and password. By default, the username and password are usually both “admin” or “admin” for both fields. However, if these credentials do not work, you may need to refer to the user manual or the documentation that came with your Rockspace extender to find the correct username and password.
- After entering the correct username and password, click on the “Login” or “Submit” button to log in to the Rockspace extender’s settings interface.
Once you have successfully logged in, you will be able to configure and manage your Rockspace extender settings, including Wi-Fi network setup, security settings, and other options as per your requirements.
Please note that the exact steps may vary slightly depending on the specific model and firmware version of your re rockspace local Wi-Fi extender. If you encounter any difficulties during the login process, it’s recommended to consult the user manual or contact Rockspace’s customer support for further assistance.


