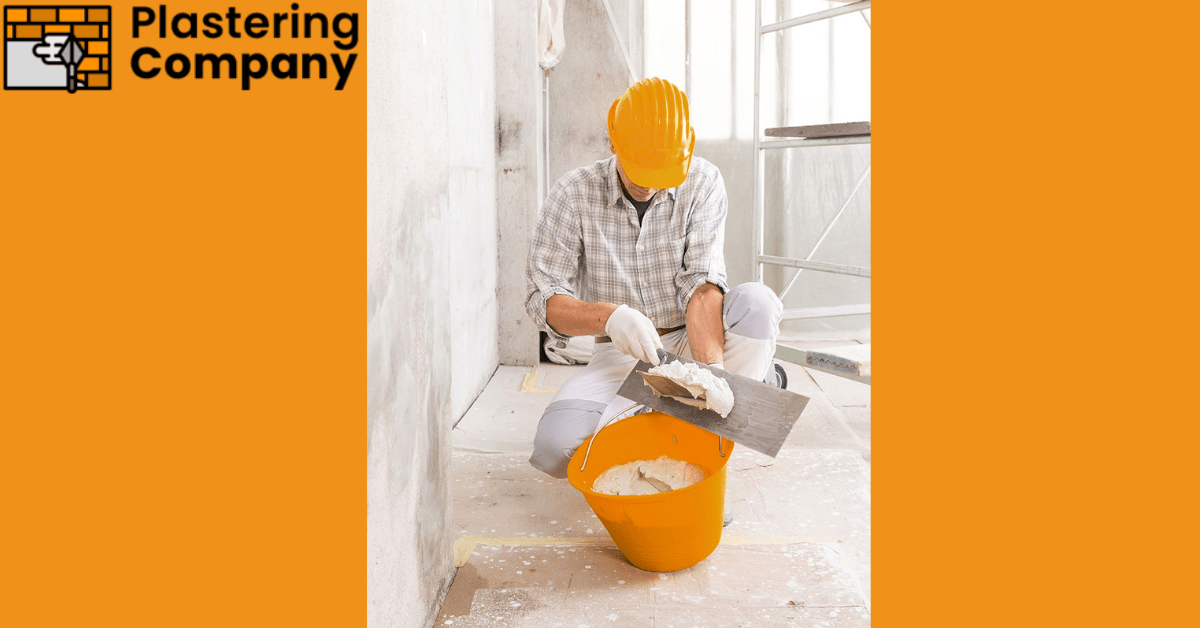
Plastering is a vital process in construction, providing a smooth and durable finish to walls and ceilings. It not only enhances the aesthetic appeal of a building but also offers protection and longevity. Whether you’re a DIY enthusiast or a professional, understanding the basics of plastering can significantly improve the quality of your work. In this comprehensive guide, we’ll explore the techniques, tips, and benefits of plastering, ensuring you achieve a flawless finish every time.
What is Plastering?
Plastering involves applying a smooth layer of plaster over walls and ceilings to create a flat surface ready for painting or wallpapering. The process can be used in both new construction and renovation projects. Plastering offers several benefits, including improving insulation, providing soundproofing, and enhancing fire resistance.
Types of Plaster
There are various types of plaster used in construction, each with its unique properties and applications:
- Gypsum Plaster: Known for its quick-setting properties, gypsum plaster is ideal for interior walls and ceilings. It provides a smooth finish and is easy to work with.
- Cement Plaster: This type of plaster is commonly used for exterior walls due to its durability and weather resistance. It is also suitable for damp areas like bathrooms.
- Lime Plaster: Lime plaster has been used for centuries and is known for its breathability and flexibility. It is ideal for heritage buildings and restoration projects.
- Clay Plaster: An eco-friendly option, clay plaster is made from natural materials and offers excellent breathability and humidity regulation.
Tools and Materials Needed
To achieve a professional finish, you’ll need the right tools and materials:
- Plaster: Choose the appropriate type based on your project requirements.
- Trowel: A flat, rectangular tool used to apply and smooth the plaster.
- Hawk: A square board with a handle for holding plaster while you work.
- Mixing Bucket: For preparing the plaster mix.
- Plastering Float: Used to smooth and finish the plaster.
- Jointing Knife: For applying plaster to joints and corners.
- Sandpaper: To smooth the dried plaster surface.
Preparing the Surface
Before you start plastering, it’s crucial to prepare the surface properly:
- Clean the Surface: Remove any dust, dirt, or loose material from the walls or ceilings. A clean surface ensures better adhesion of the plaster.
- Apply a Bonding Agent: For smooth or non-porous surfaces, apply a bonding agent to improve the plaster’s adhesion.
- Repair Cracks and Holes: Fill any cracks or holes with a suitable filler and allow it to dry completely before plastering.
Plastering Techniques
1. Mixing the Plaster
Follow the manufacturer’s instructions to mix the plaster. Typically, you’ll add water to the plaster powder and mix until you achieve a smooth, lump-free consistency. Use a mixing bucket and a plastering paddle for best results.
2. Applying the Plaster
- First Coat: Load your hawk with plaster and use the trowel to apply the first coat. Start at the bottom of the wall and work your way up, spreading the plaster evenly. The first coat, also known as the “scratch coat,” should be about 2-3mm thick.
- Keying the Surface: Before the first coat dries, use a plastering float to create a keyed surface by lightly scratching it. This helps the second coat adhere better.
3. Second Coat
- Applying the Second Coat: Once the first coat has set but is still slightly damp, apply the second coat. This coat, known as the “finishing coat,” should be thinner than the first, about 1-2mm thick. Use long, sweeping motions to achieve a smooth finish.
- Smoothing the Surface: After the second coat starts to set, use a clean trowel to smooth the surface. Wet the trowel slightly to prevent it from dragging the plaster.
Tips for a Perfect Finish
- Work Quickly: Plaster sets quickly, so work efficiently to avoid uneven drying.
- Keep Tools Clean: Clean your tools regularly to prevent dried plaster from affecting your finish.
- Practice Makes Perfect: Plastering is a skill that improves with practice. Start with smaller areas to build your confidence.
Benefits of Plastering
1. Aesthetic Appeal
Plastering provides a smooth and uniform finish that enhances the appearance of any room. It creates a perfect base for paint or wallpaper, ensuring a high-quality final look.
2. Durability
A properly plastered surface is durable and resistant to wear and tear. It can withstand impacts and provides long-lasting protection for your walls and ceilings.
3. Improved Insulation
Plastering helps improve the thermal insulation of your home. It adds an extra layer that can help keep your home warm in winter and cool in summer.
4. Soundproofing
Plastered walls offer better soundproofing compared to bare walls. This is especially beneficial in residential buildings where noise reduction is important.
5. Fire Resistance
Certain types of plaster, such as gypsum plaster, provide fire resistance. This can enhance the safety of your home by slowing down the spread of flames.
Common Mistakes to Avoid
- Incorrect Mixing: Ensure you mix the plaster to the right consistency. Too thick or too thin plaster can affect the quality of the finish.
- Poor Surface Preparation: Failing to clean and prepare the surface properly can lead to poor adhesion and cracking.
- Rushing the Process: Take your time to apply each coat evenly. Rushing can result in an uneven and rough finish.
- Overworking the Plaster: Once the plaster starts to set, avoid overworking it. This can cause cracks and an uneven surface.
Conclusion
Plastering is a crucial skill in construction that offers numerous benefits, from enhancing aesthetic appeal to improving insulation and durability. By understanding the techniques, tips, and common mistakes, you can achieve a professional finish on your plastering projects. Whether you’re tackling a small DIY project or a large-scale renovation, this guide provides you with the knowledge to get started.
Remember, practice and patience are key to mastering plastering. With time and experience, you’ll be able to achieve flawless finishes that transform your living spaces.


